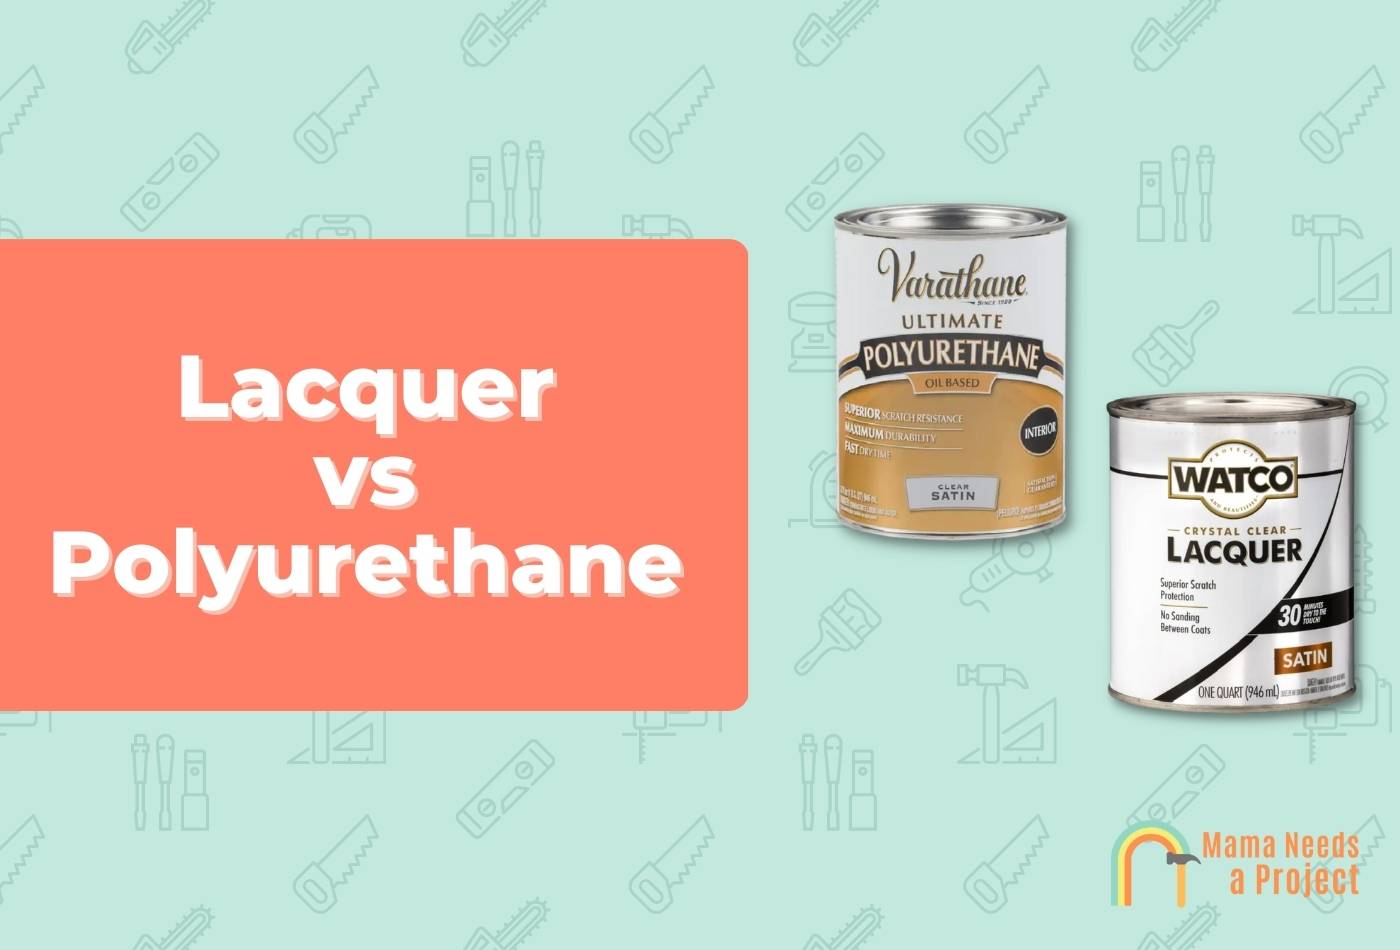
Lacquer vs Polyurethane: Pros & Cons (2024)
Lacquer and polyurethane are two of the most popular wood finishes out there. They’re great for adding protection to your projects and getting the sheen you want. But which is better?
I’ll show you the key similarities and differences in this lacquer vs polyurethane comparison. Let’s dig in!
Lacquer and polyurethane are both great wood finishes that add protection to your projects, but polyurethane is more versatile, easy to apply, and affordable. Lacquer dries quicker and provides a more elegant finish. I prefer polyurethane for my projects
Differences Between Lacquer vs Polyurethane
Durability
In terms of durability, both lacquer and polyurethane are extremely durable finishes. They both add another layer of protection to your projects that can keep them lasting for years to come. If I had to recommend one over the other in terms of durability, an oil based polyurethane is probably the way to go.
Drying Time
In general, lacquer dries much quicker than polyurethane, which means you don’t have to wait as long to apply additional coats. In some cases you can apply several coats in just a couple hours – which can really help speed up your projects.
Versatility
In terms of versatility, polyurethane gets the nod because it can be used on a wide variety of projects from hardwood flooring, to furniture, and even cabinetry. It also offers more water resistance so you can use an exterior polyurethane for outdoor furniture and other projects.
As for lacquer, it’s better suited for interior projects like furniture where a high quality finish is desired.
Toxicity
Both polyurethane and lacquer have toxic chemicals, which means it’s essential to wear the proper safety gear when applying either.
That said, both water-based lacquer and water-based polyurethane don’t have as many chemicals, but they can still be toxic so you need to be careful.
Price
Generally speaking, lacquer is slightly more expensive than polyurethane. However, you can find affordable versions of both options that work great.
Ease of Use and Application
In general, I found applying polyurethane takes slightly longer, but it’s a simpler process, especially once you get the hang of things. Applying lacquer is still pretty straightforward – but you have to work faster because of how quickly it dries.
Need more help choosing the right finish? Check out my spar urethane vs polyurethane guide for more info!
Lacquer Pros
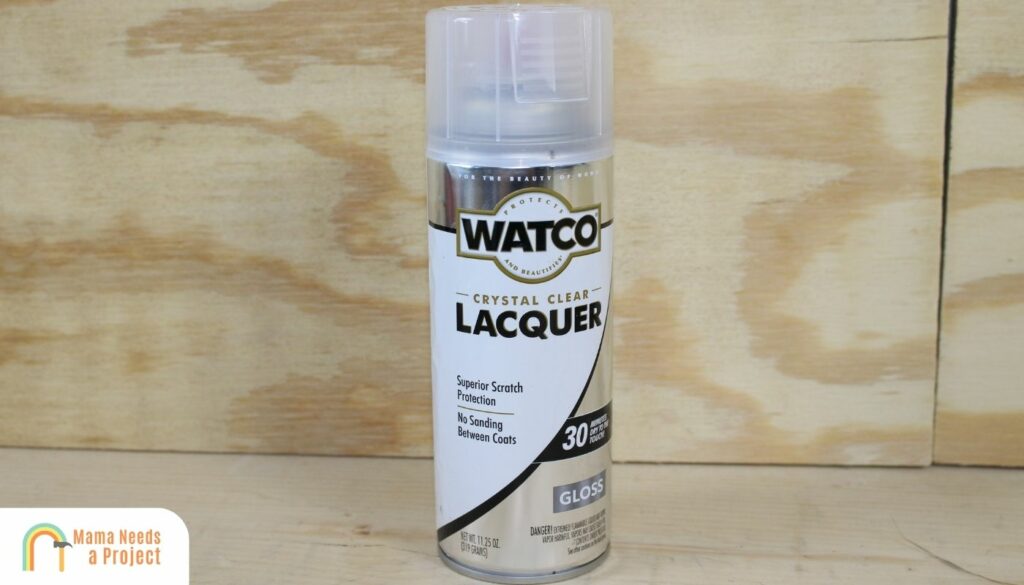
Quick Application
Whether you’re brushing lacquer or using lacquer spray (check out my favorite spray lacquer), applying this finish is much quicker than applying polyurethane. It can take you just a few hours to put down several thin coats of lacquer, whereas it could take several hours to applying several polyurethane coats.
Thin Yet Effective
Unlike polyurethane, the barrier created by lacquer finish is harder to notice, largely because the lacquer is absorbed by the wood’s pores. But despite being thin, lacquer finish can still be durable and long-lasting, especially if it’s applied properly and maintained well. If you want something that’s less noticeable, I recommend lacquer.
Check out my guide to learn if you can put polyurethane over lacquer!
Lacquer Cons
More Challenging to Apply
Applying lacquer finish is somewhat more difficult than applying polyurethane. This is mainly because of how quick it dries. If you’re trying to coat a large surface, it can be slightly more difficult to get an even coat across the entire surface.
Hard to Remove Dents and Scratches
Lacquer finish may be strong, but it’s not impervious to dents and scratches. These can be a pain to touch up later. It can be very difficult to match the same sheen and color of lacquer so in many cases, you might have to remove the entire finish and start from scratch.
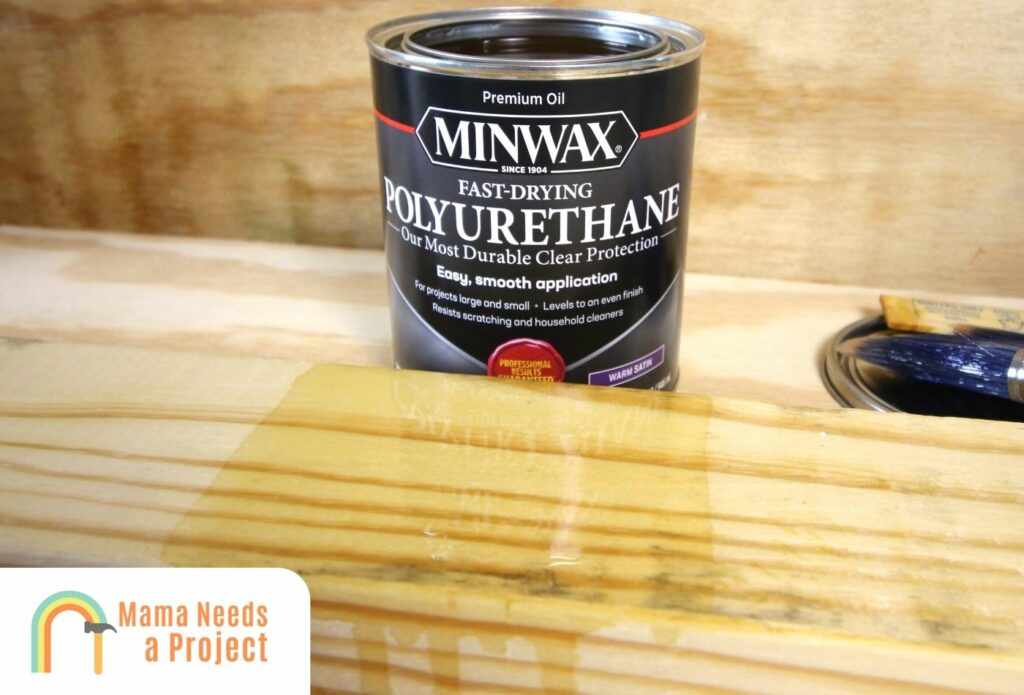
Polyurethane Pros
Durability
Polyurethane finish is extremely durable, especially if you opt for an oil based version. You can apply numerous coats for added protection that do a great job of keeping your project in good shape.
Long-Lasting
When compared to lacquer finish, polyurethane is longer-lasting. Plus, it’s more dent- and scratch-resistant, which means you won’t have to repair it often. It can also withstand wide temperature fluctuations as well as sustained exposure to the elements.
Polyurethane Cons
Application Takes Awhile
One unavoidable downside associated with using polyurethane finish is the long application time. If you plan to apply multiple coats, this can really add time to your project that you might not have time for.
More Noticeable
Since the polyurethane barrier is formed above the wood’s surface, it’s thicker and therefore more noticeable (despite being translucent). So if you don’t want a thick barrier, it’s best to opt for lacquer. However, this could also be considered an advantage because you might like the sheen a polyurethane coating can offer.
When Should You Use Polyurethane?
Polyurethane is great for a variety of projects including wooden floors, tabletops, cabinets, banisters, and certain kinds of furniture.
If you’re working on an exterior project or a project that needs maximum protection (like hardwood flooring), I’d recommend polyurethane over lacquer.
When Should You Use Lacquer?
Lacquer is often used on high-end wood furniture as well as fine wooden instruments. Like polyurethane, it can be used on virtually any wood surface but I recommend it more for specialty projects where you want a specific look.
How can you tell the difference between lacquer and polyurethane?
Polyurethane is thicker, shinier, and used on a wider variety of surfaces. On the other hand, if you’re looking at finished furniture, there’s a good chance you’re looking at lacquer.
Can I use lacquer instead of polyurethane?
In most instances, yes. However, there are instances when polyurethane is better than lacquer and vice versa. For example, for projects that require maximum protection – I highly recommend polyurethane.
Is lacquer shinier than polyurethane?
The sheen of your finish will depend on which product you opt for. In general, lacquers are shinier than water-based polyurethane, but some oil-based polyurethanes can have a shinier appearance.
Final Thoughts
When comparing lacquer vs polyurethane – it comes down to protection.
If you need maximum protection, go with a polyurethane finish. It creates a more durable barrier that sits on top of the woods surface which is perfect for floors and other high impact areas.
If you’re looking for a more high end finish, lacquer could be a better option. Both are pretty easy to apply, but polyurethane is slightly more forgiving.