Scrap Wood Garden Signs | Easy DIY with Kids
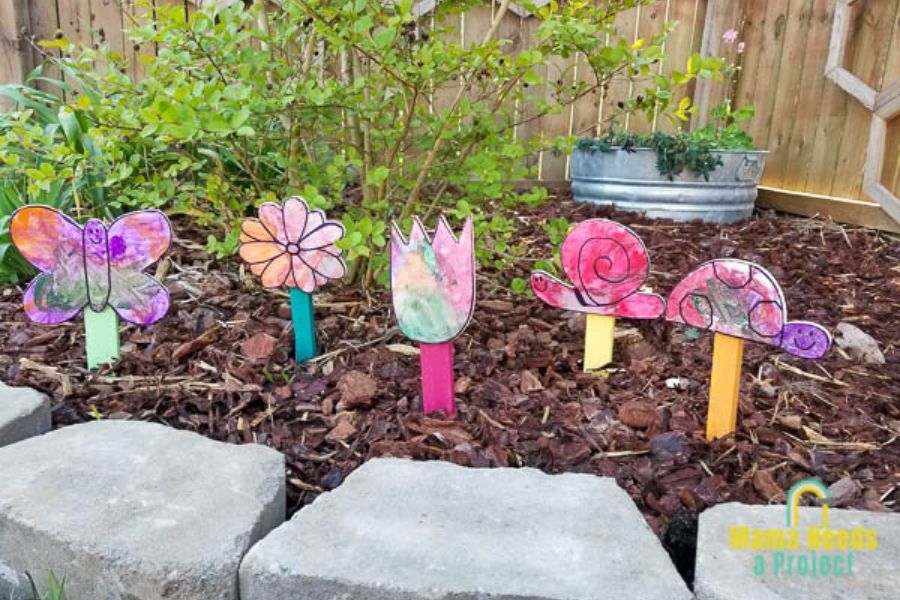
Today I’m showing you how I put together these easy Scrap Wood DIY Garden Signs using supplies I already had on hand. This simple project can easily be modified for whatever supplies you have readily available and it’s a fun DIY to do with your kids.
Over here we’re on our second week of social distancing with at least 4 more weeks ahead of us. Everyone is starting to go a little stir crazy!
So I decided it was a good time to start digging through my scrap pile to see what I could throw together to keep both myself and my 3 year old busy.
We settled on the idea of making a few new garden signs in some silly shapes. My son requested a snail and a ladybug (although the ladybug turned into a turtle) and since I was on a roll after cutting out the first two I went ahead and made a few more.
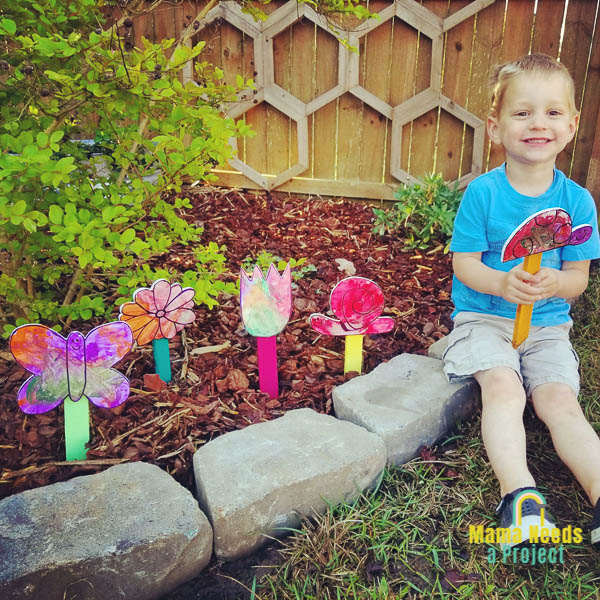
The end result for these little DIY garden signs is much cuter than I expected and you can even sell them to make money from woodworking! It was a fun project for us to work on together and my son is so proud of them. If you’re interested in making a set of your own, keep reading. And if you’re looking for more fun projects, check out my friend Jess’s site CreativeColorLab!
Save to Pinterest!
This post contains affiliate links.
DIY Scrap Wood Garden Signs
Time & Skill Level
This project is super simple and uses beginner tools. The main tool used is a jigsaw, which is my favorite beginner saw. This project can be completed in an afternoon.
Supplies
- Scrap 1/4″ – 1/2″ plywood
- Scrap wood for stakes (1x2s would work well)
- Jigsaw – this is the one I use
- Small clamps
- Sandpaper
- Paint
- Spray sealant
- Wood Glue
- Nail gun or screws to attach signs to stakes
Make your Garden Signs
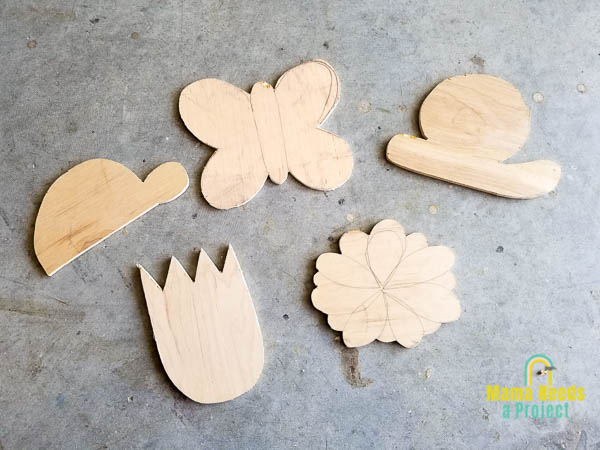
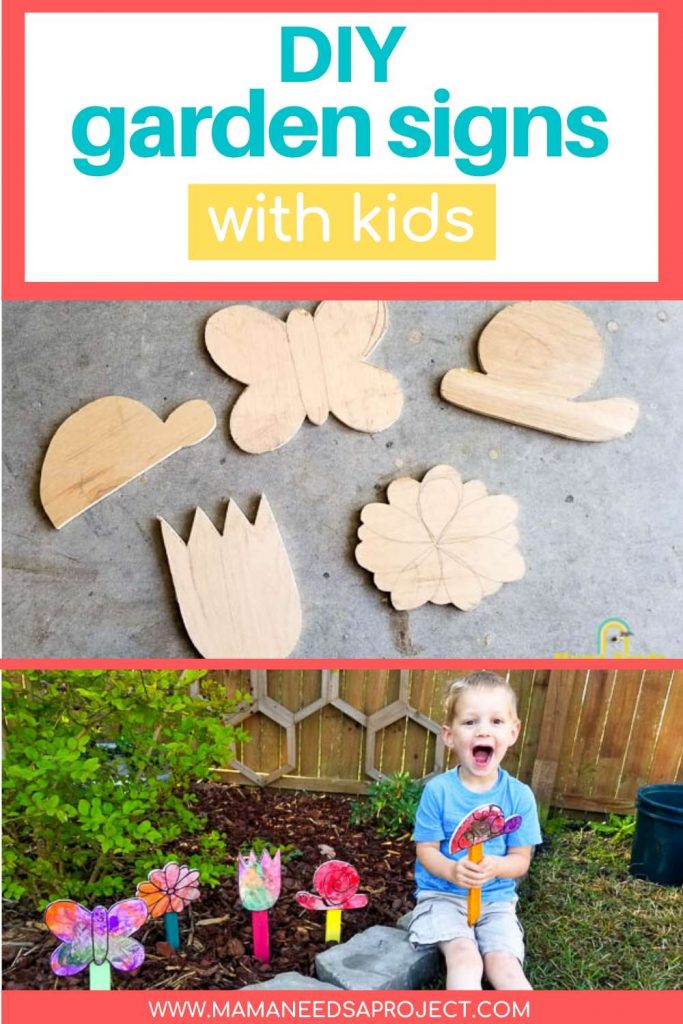
Cut out the Shapes
I started by drawing the shapes I wanted to cut out onto my plywood using a pencil. As you can probably tell I’m not a great artist, but my kiddo doesn’t seem to mind and still had lots of fun painting these.
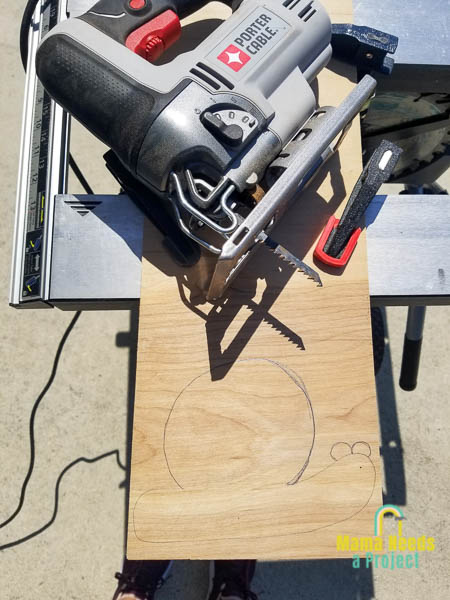
Once I finished drawing a shape, I clamped the plywood down onto a work surface using small clamps. My usual work bench is currently a huge mess so I made do using my table saw as a work surface.
With the plywood securely clamped, I started cutting around the shape using my jigsaw. I recently upgraded to this jigsaw and I seriously love it! It has special settings that make cutting around curves much easier and it has several more speed settings that the jigsaw I was using before. I definitely recommend it!
If you need some tips on how to cut out shapes with a jigsaw, this article is where I share all of my best jigsaw advice.
Cut the Stakes
After cutting all of my shapes out, I cut some stakes using scrap pieces of cedar fence pickets. I already had these strips cut and in my scrap wood pile – probably left over from my Big X Wood Quilt or Geometric Wall Art.
Most people probably don’t have strips of fence pickets in their scrap wood pile, but if you have scrap 1×2 boards they would work great.
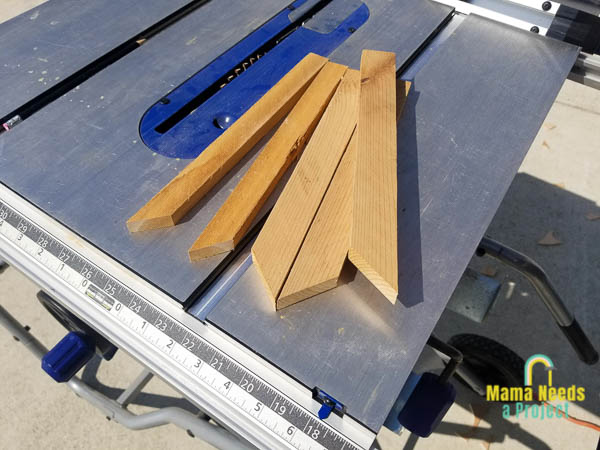
I cut the stakes to about 12″ long with one side at a 45 degree angle to easily stake into the ground. I did this using my miter saw, but you could also use your jigsaw or a hand saw with a miter guide.
Sand
Next, I gave everything a quick sand before handing them off to my son to be painted. I sanded around the edges of the plywood to remove any splinters and lightly sanded the stakes to also make sure they were splinter free.
Paint
Before giving the shapes to my son to paint I decided to do a coat of white paint on the front and back to cover up my pencil marks.
It’s important to paint both the front and back of the plywood to prevent the wood from bowing. If only once side the plywood is painted it can cause the wood to warp and bow.
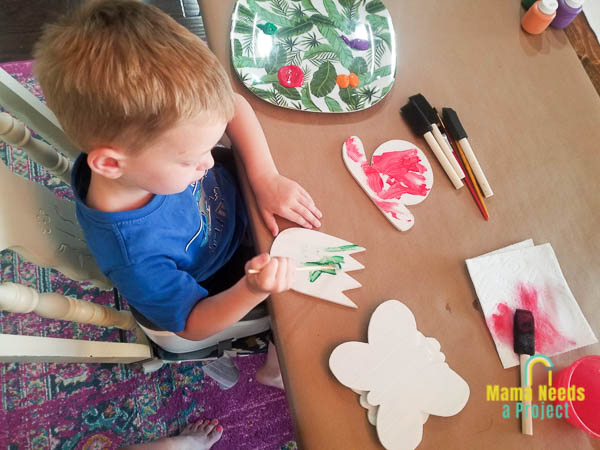
I set my son up with some washable paint and brushes and let him get to work on painting the little plywood creatures for our DIY garden signs. He originally asked for black and white paint, but thankfully I convinced him that he should branch out to a few more colors.
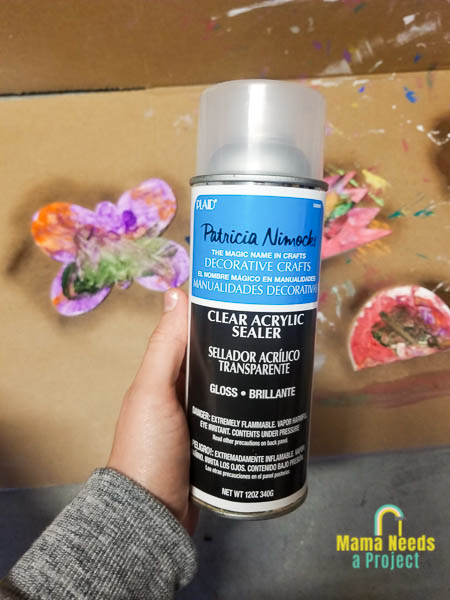
When he had finished painting and the paint had dried, I sprayed the front back and of the plywood shapes with a protective sealant spray paint. Since I had him painting with washable paint the sealant was a must. I found that I have a few cans of clear spray sealant stashed in my garage and chose to use one with a gloss finish because I figured it would create a more durable seal.
I also painted the garden stakes in a few bright colors. I didn’t bother to seal these as the paint should be protectant enough.
Assemble
The last thing to do is put together the DIY garden signs! I used wood glue and a brad nailer to attach the garden signs to the stakes. You could also use wood glue and a couple wood screws.
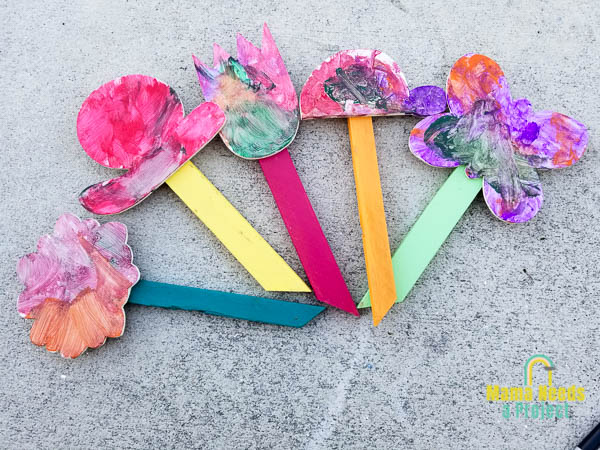
Scrap Wood DIY Garden Signs
This quick little scrap wood project was a great way to get my son involved and use up a teeny tiny amount of scrap. The DIY garden signs turned out so much cuter than I expected and my son is so proud to see them on display!
Save to Pinterest!
I want to hear from you!
If you have any questions about this project, please leave them below! Also, if you decide to make this project I would LOVE to see you and your kiddos at work! Share a picture with me on social media @MamaNeedsaProject on Instagram and Facebook.
Happy Creating!