
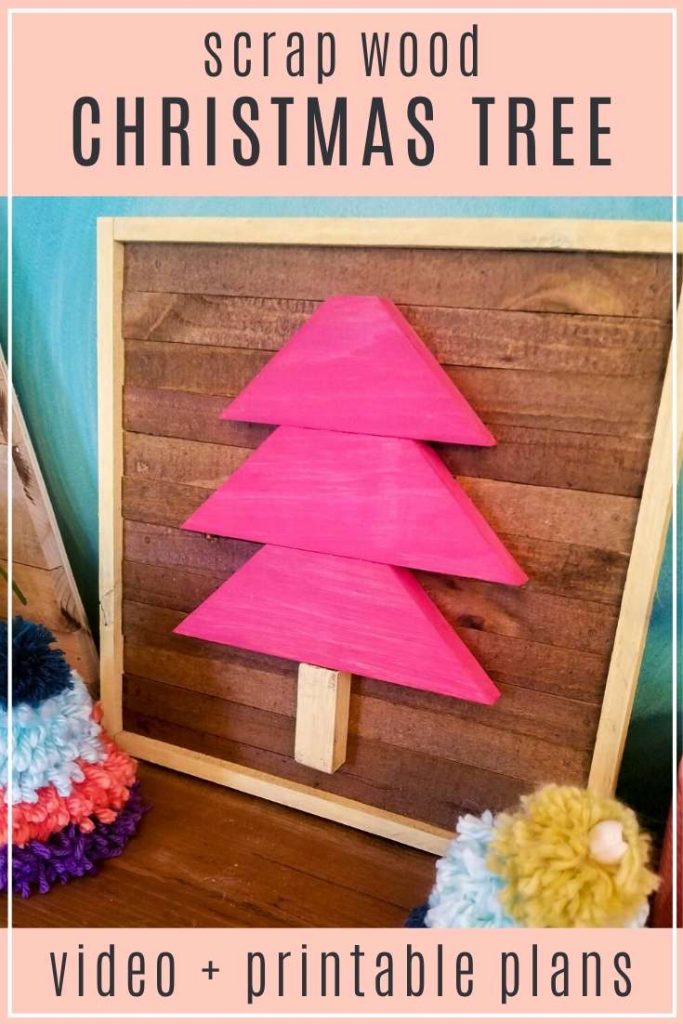
Scrap Wood Framed Christmas Tree
I’m excited to add some woodworking to DIY Colorful Christmas with this easy Scrap Wood Framed Christmas Tree.
If the video doesn’t load above, you can find it at https://www.youtube.com/watch?v=xMtxtaC4mRI
I have a BIG stash of scrap wood. My husband notoriously overbuys for projects and since I’m bit cheap I save nearly every scrap. Friends and neighbors have learned of my love for little scrap wood and started dumping their cut offs in my garage, too. I love having so much on hand to work with!
But, right now, the scrap pile is getting a little out of control. It’s expanded from our wall storage to several totes and buckets full on the floor of our garage.
Pin for later!
My little Scrap Wood Framed Christmas Tree barely scrapes the surface when it comes to clearing out all of this excess wood, but it’s a start.
For this project I used pine fence pickets and if you’ve been around for a while you might know that fence pickets are one of my favorite sources of cheap lumber. It’s what I used for my DIY Geometric Wall Art, Big X Wood Wall Quilt, and $6 Wedding Centerpiece Boxes.
This post contains affiliate links.
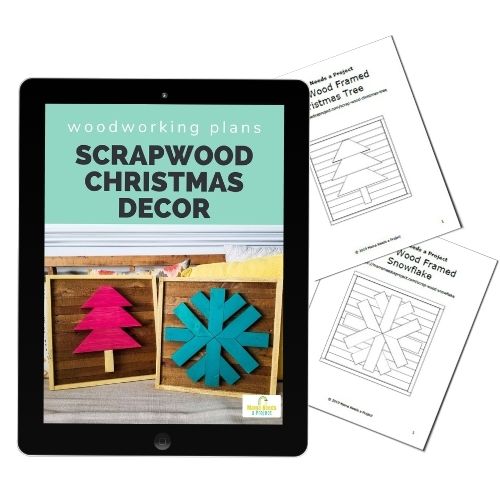
Scrap Wood Christmas Tree Woodworking Plans
You can grab the printable woodworking plans for this project in my woodworking plan shop.
All of the woodworking plans in my shop include a lumber list, cut list and supply list. They also feature digitally rendered images and detailed instructions that walk you through each step of the build. I use easy-to-understand language that’s perfect for beginners.
What do you need to build a scrap wood Christmas tree?
Supplies
- Scrap Wood Framed Christmas Tree Woodworking Plans
- (2) fence pickets
- scrap 1×3
- scrap 1/4″ plywood
- table saw
- miter saw
- pin nailer (This is what I use.)
- wood glue
- paint & wood stain
How to Make a Scrap Wood Christmas Tree
1. Rip fence pickets
The first step for this project is to rip the fence pickets to 1″ width. Use your table saw to do this. I used strips that I had leftover from making my DIY Geometric Wall Art a few months ago.
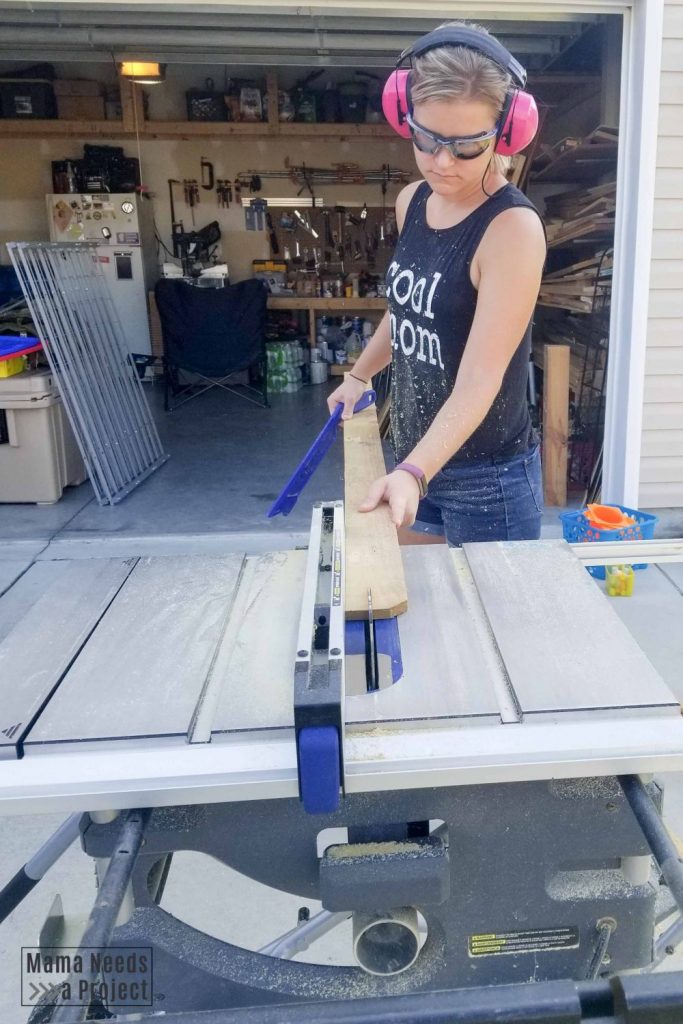
I used 5.5″ wide pine fence pickets and was able to get (4) 1″ strips out of each board with a strip left over that is about 1/2″ wide. Before you toss that skinny leftover strip, cut it into 8-12″ lengths and you have some stir sticks for your paint and wood stain.
2. Make the back
Cut your fence picket strips and 1/4″ plywood backing based on the measurements in the printable woodworking plans. Then, you can start building the back of the frame.
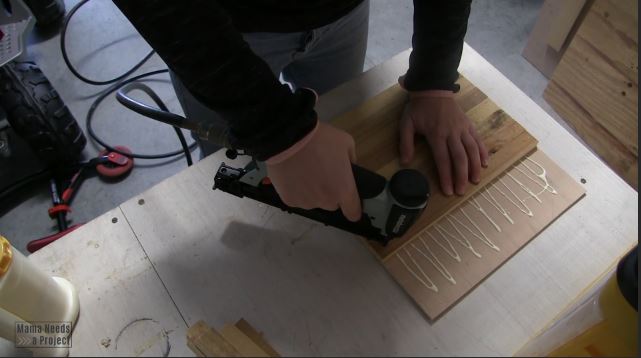
Use wood glue and a brad nailer or pin nailer to attach the fence picket strips to the 1/4 plywood backing. Start attaching your strips at the bottom and work your way, using one edge of the plywood as your guide to keep them straight.
(By the way, this is the glue bottle I use and it’s awesome! I’ve had it nearly a year and it never clogs. It’s totally worth it!)
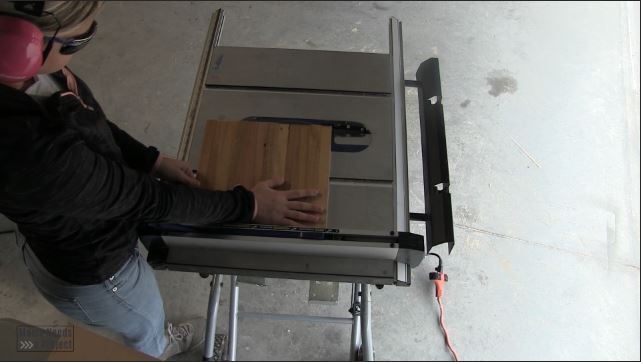
After you have attached all of the strips, you might find that the edges of your piece aren’t completely straight – that’s no problem! Head back over to your table saw and square it up.
3. Make the frame
After creating the backing, you can frame it out. I used the same 1″ fence pickets strips as I did for the backing to make the frame. Use wood glue and your brad nailer or pin nailer to attach the frame.
I recommend measuring the backing and then cutting your frame pieces based on the exact measurements of your piece. I included measurements in the printable woodworking plans, but to get a perfect fit you will want to use the measurements of your actual piece.
Also, if you want to paint or stain the frame a different color than the backing, go ahead and do that before attaching it. Painting or staining first will make it SO much easier.
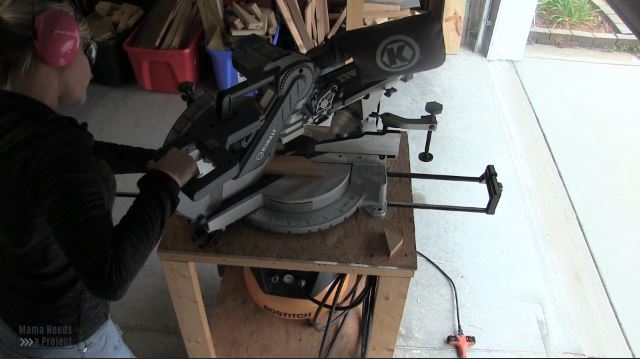
4. Cut the Christmas tree pieces
The pieces for the Christmas tree are made from a scrap 1×3 board and cut at 45 degree angles. I did this using my miter saw. The pieces are a little small, which can be intimidating to cut with a miter saw. Check the video at the top of this post for my tips on how to cut smaller pieces with a miter saw.
5. Paint & stain everything
Next, paint and stain everything before completing assembly of your Scrap Wood Framed Christmas Tree. I find it so much easier to do this before I put a piece together, especially if I’m using multiple colors.
6. Put it all together
And, finally put it all together! Arrange your Christmas Tree onto the backing of the frame and attach it with wood glue and a pin nailer. I just centered it by sight, but if you want to be exact go ahead and whip out your tape measure for this part.

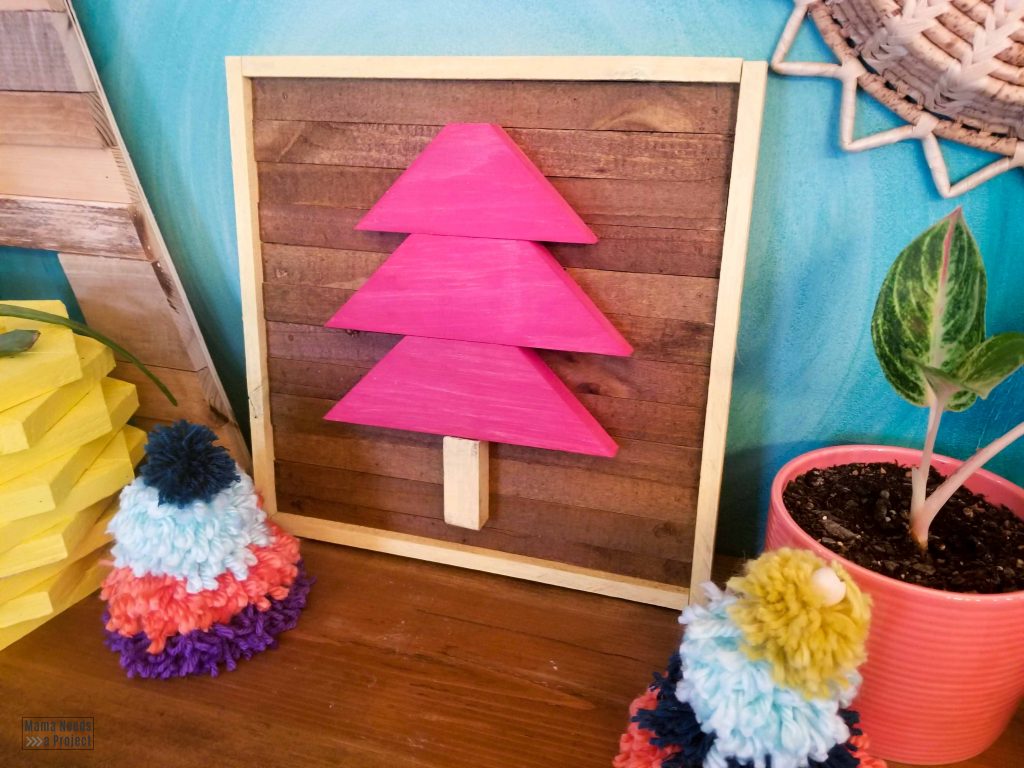
Scrap Wood Framed Christmas Tree
This super simple project is the perfect way to make a small dent in your scrap wood pile and create a cute piece of holiday decor.
I want to hear from you!
I’d love to see your variations of this easy project! Pretty please share them with me? You can find me on Instagram and Facebook @MamaNeedsaProject Tag me in your project so I can see your awesome work – it will seriously make my day!
Happy Building!