Small DIY Pantry Closet with shelves & drawers | From Kitchen Laundry to Pantry
I cannot tell you how excited I am to finally be done with this DIY Pantry! There were so many projects that led up to this final DIY Pantry and I absolutely love how it turned out.
Can you believe that this area started out as a laundry closet in our kitchen?? This transformation really tested our DIY skills but it was 100% worth it.
*This post contains affiliate links
From Kitchen Laundry to Pantry
When we moved into this house we knew that one of the very first things we wanted to change was the laundry closet. It took up an entire wall in our already small kitchen.
We brainstormed for a long time on how to move the laundry without actually moving the plumbing. Moving the plumbing would have been expensive and pretty far outside of our DIY skill set.
Here’s how it looked when we moved in:
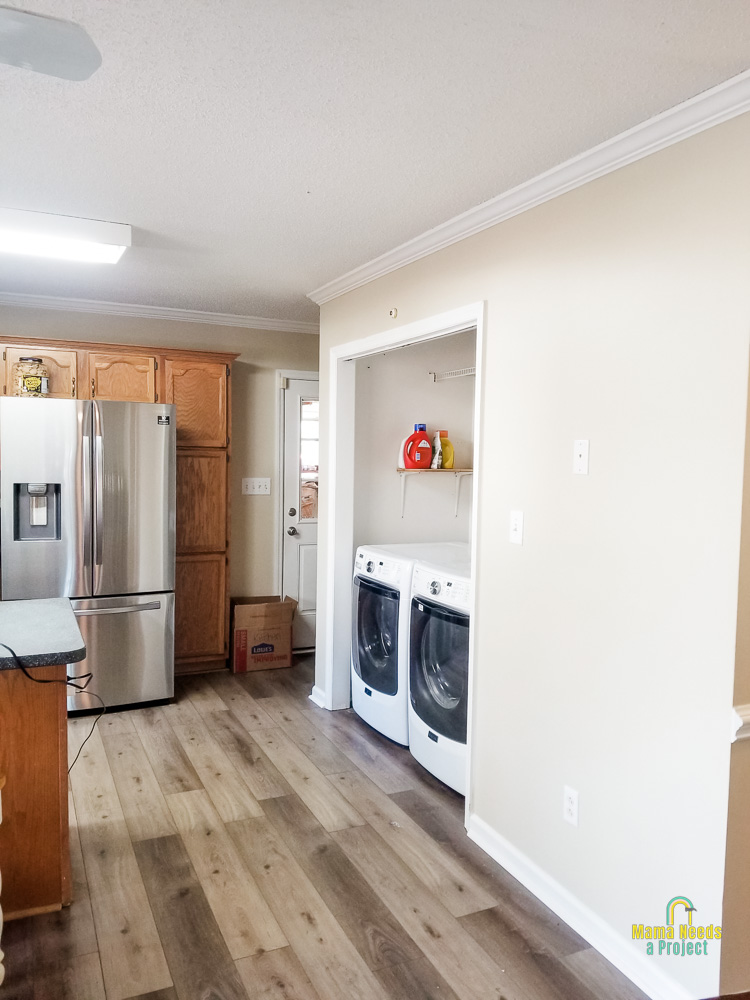
The idea we came up with was to stack the washer and dry and turn them so they faced a hallway. We cut an opening in the hallway wall to make this work. Then we walled off the remaining room in the laundry closet to turn it into a pantry.
Tearing down walls, building new walls, installing a door – this was all brand new to me. We took our sweet time on this project to make sure we were doing right. And, because (let’s be honest) we made a few mistakes along the way that added into our timeline.
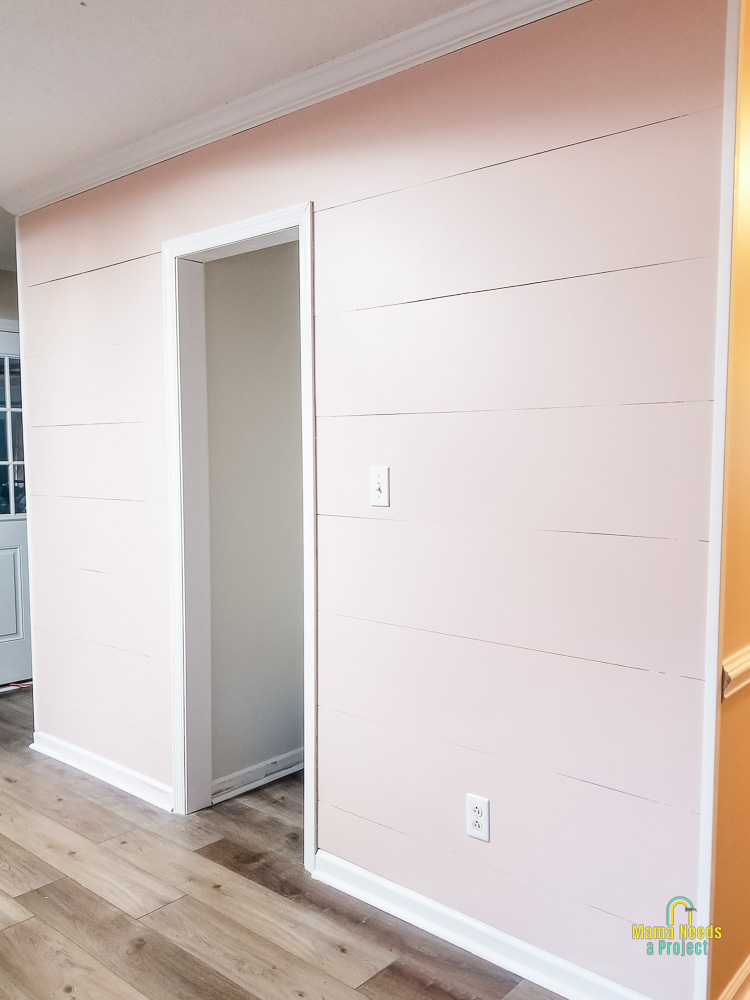
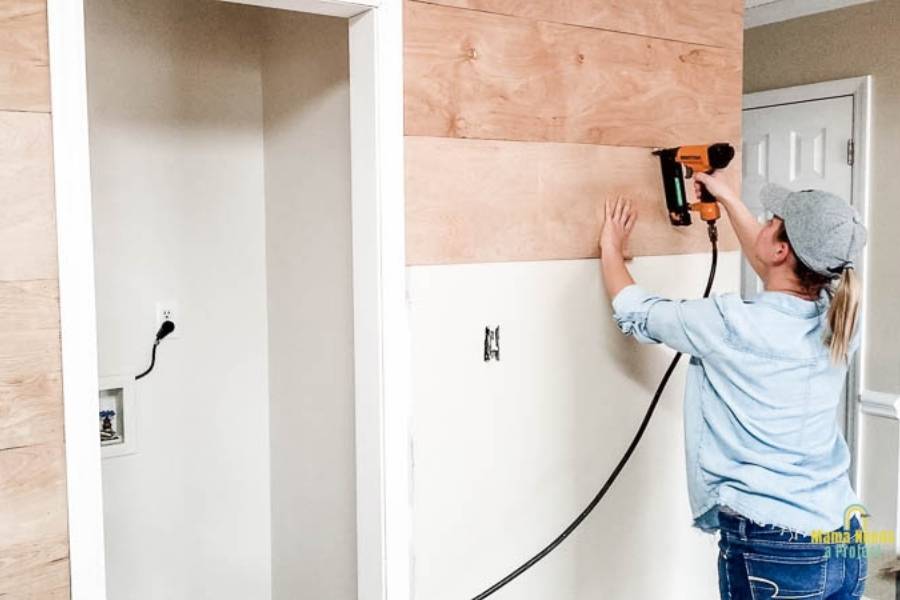
We decided to add some wide planks to the wall facing the kitchen – you can get the full tutorial for that project here.
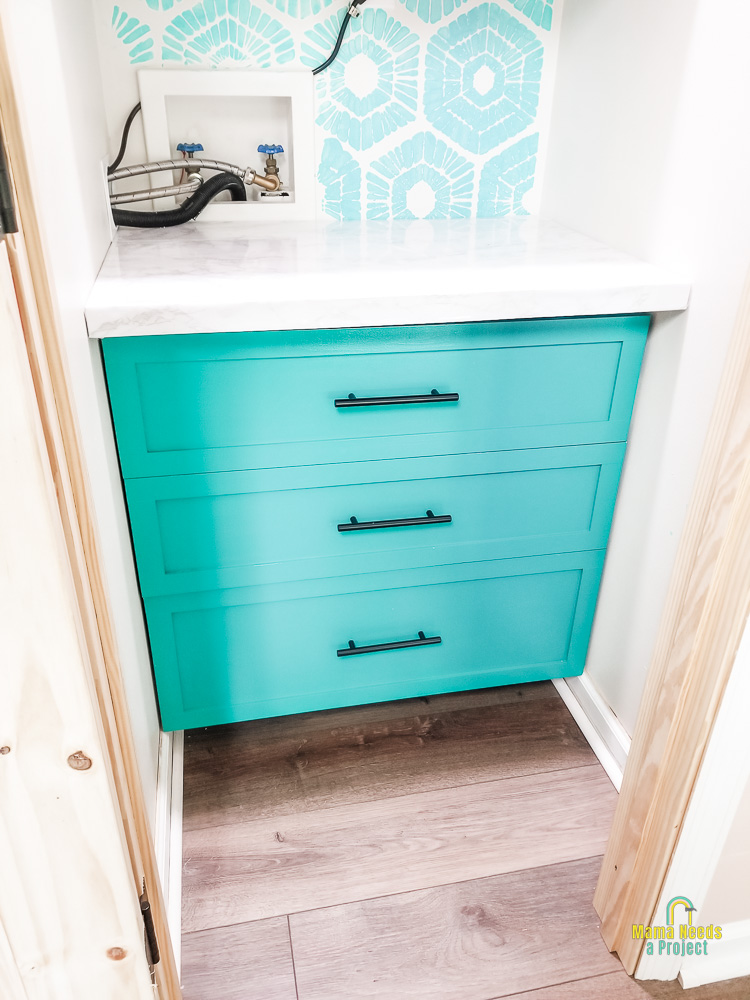
How we avoided moving the plumbing
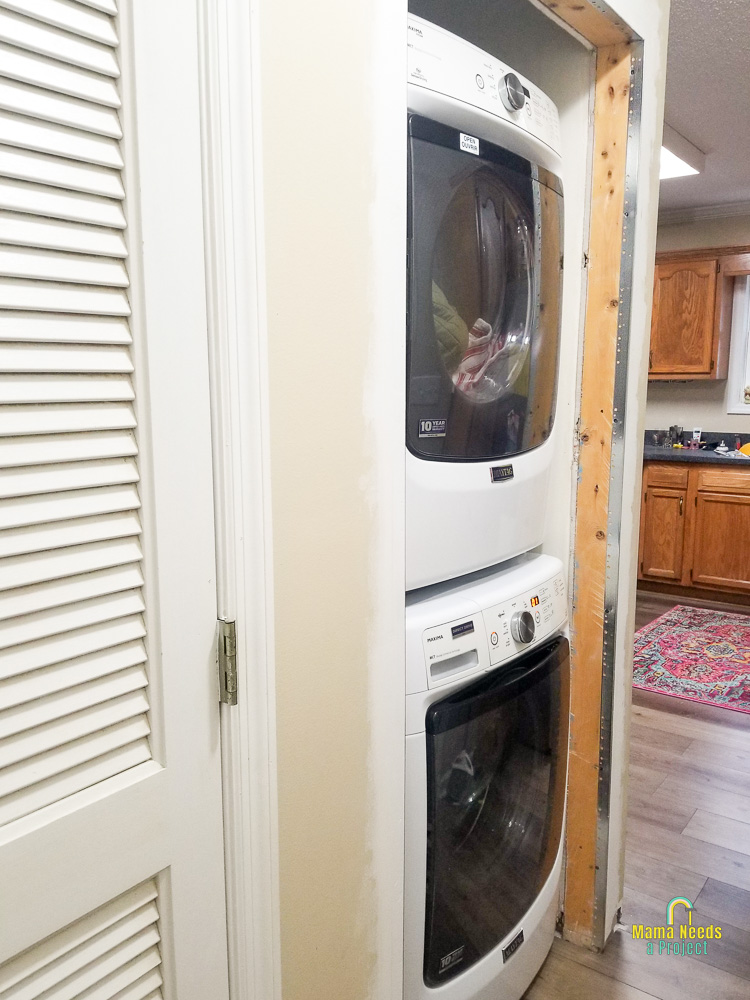
So our solution to moving the washer and drying without moving the plumbing or the outlet is definitely not fancy. But it works for us! And it made our project totally doable for us – without having to hire help.
When we turned the laundry machines to face the hallway we built a wall behind them to create the pantry closet. We then cut a hole in the wall and placed the hoses and power cords through the hole.
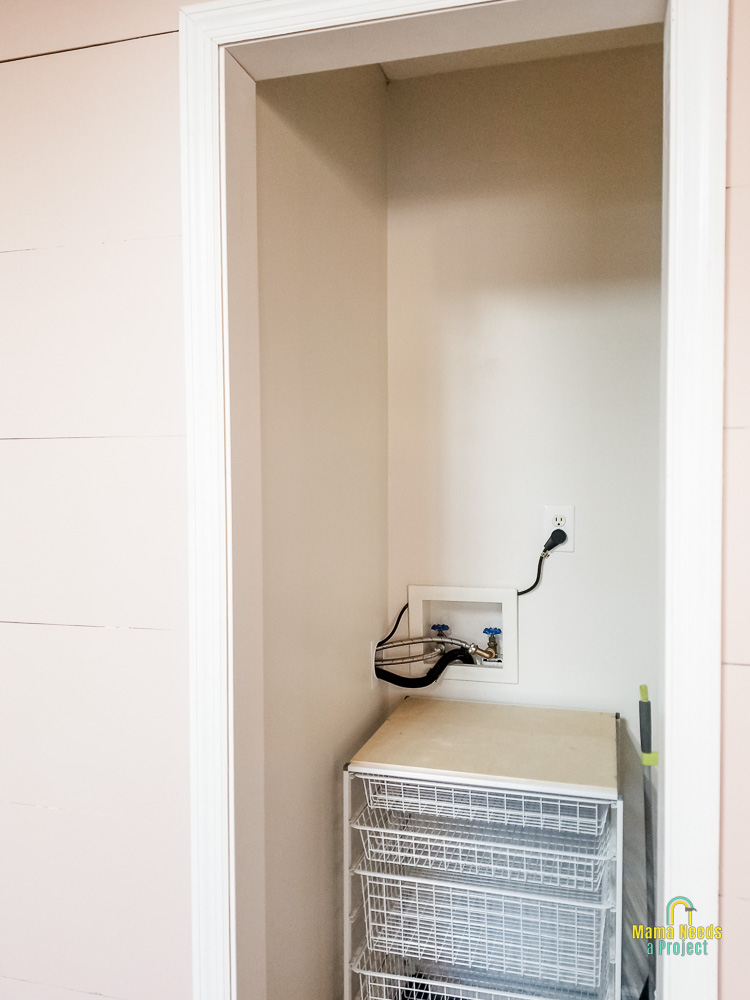
So the plug in and the plumbing connections for our washer and dryer are actually in the pantry rather than in the new laundry closet.
While this isn’t super aesthetic it’s a solution that fit into our skill set and I’m really happy with how it turned out.
One of my worries with stacking the machines was how difficult it would be to move them and shut off the water if we ever had an issue with the washer flooding or a leak in the hose. With the connections located in the pantry that problem is totally avoided. They’re easy and quick to access if we ever need to.
DIY Pantry Projects
Okay, now on to the DIY pantry projects. While my husband and I worked together to do the major work of building the walls and moving the laundry machines, I took full reigns of the pantry design projects.
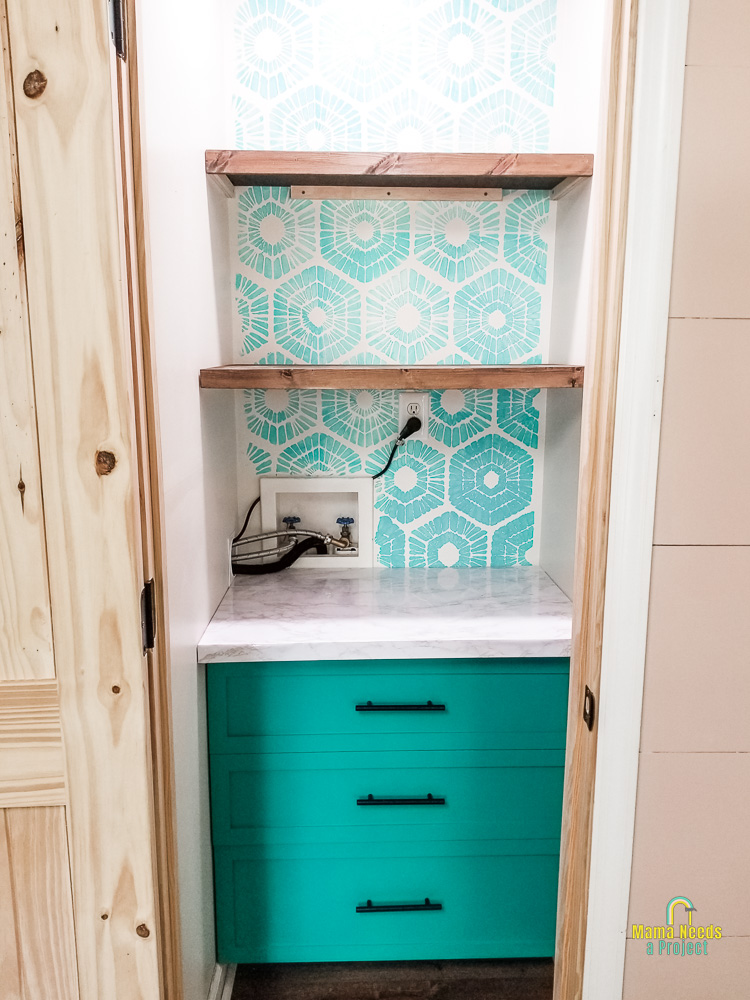
There were lots of DIY projects that came together to create the DIY pantry and I really love how the whole project turned out! It’s such a great and useful addition to our small kitchen. Because there are so many things to store in a pantry, we specifically mapped out what and where everything would go.
Here’s a breakdown of the DIY pantry projects that came together to create our small DIY pantry.
Stenciled Pantry Wall
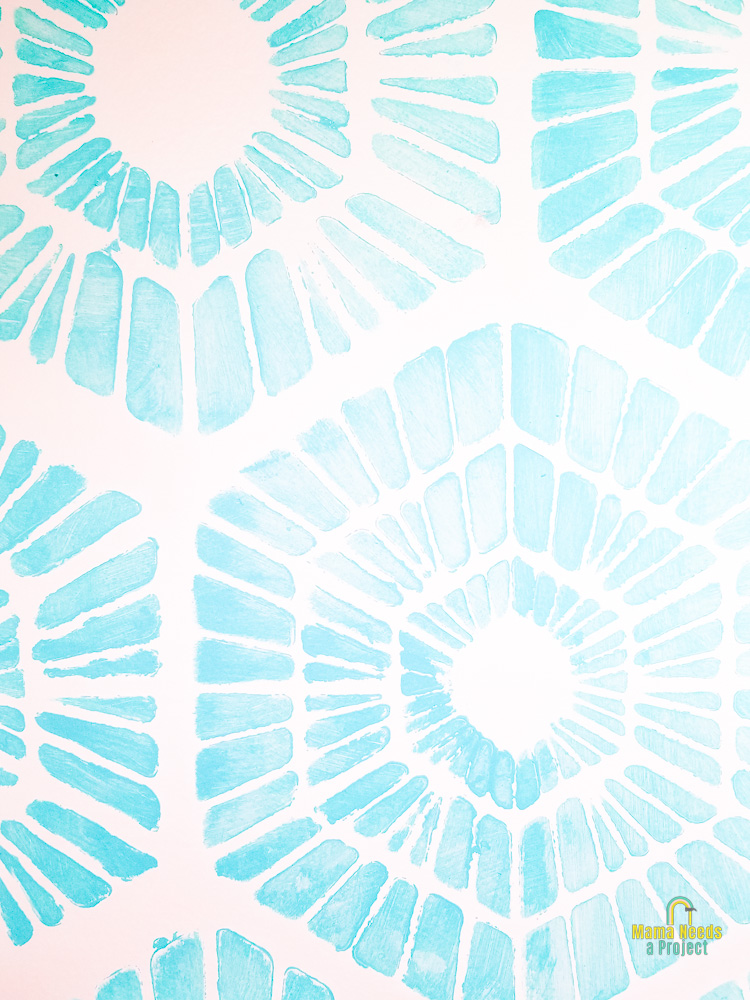
One of the most fun parts of this DIY Pantry is the blue stenciled wall.
This was my first time using a wall stencil. I made a few mistakes, but overall it was very easy to do. (and it was way cheaper than wallpaper which was my first plan for this wall)
I used a stencil that I ordered from Amazon and a sample container of Valspar paint in the color Seafarer.
Tips for Stenciling a Wall
Use very little paint
I quickly learned that I was using way too much paint on my foam brush to fill in the stencil. You only need a tiny bit of paint on your brush or roller. If you get too much the paint spreads underneath the stencil and you won’t get crisp lines.
Plan for it to take a little while
Stenciling my tiny wall took a couple hours because you have to wait for the paint to dry before you can stencil another area. I didn’t really think about this ahead of time. Each time you paint inside your stencil you then have to wait for that paint to dry before you can adjust the stencil and paint another section. It’s a slow process.
Interior corners are tricky
I don’t have any tips for this, but I just wanted to share that painting interior corners is a little difficult. I tried to bend my stencil around the inside of the corner. It kind of worked.
Use a forgiving stencil
And last, if you’re nervous about your stenciling skills, start with a stencil that has a very forgiving design. This one that I used was great to learn with. Even though I made a few mistakes they really blend in with the stencil design and aren’t very noticeable.
DIY Pantry Shelves
Next up is the pantry shelves. These were super simple to put in.
I built the DIY pantry shelves using ½” plywood with a 1×2 attached to the front with wood glue and a brad nailer. The 1×2 makes the shelf look thicker and much nicer than the plywood alone.
To mount the shelves to the walls I simply attached some strips of scrap wood to the walls as supports and then set the shelf on top. Easy peasy!
I didn’t screw the shelves into the supports, but if you were worried about movement you definitely could.
For the upper shelf I didn’t like that you could see the supports so easily – they really interfered with how cool the wall stencil looked. So I cut a piece of ¼” thick plywood to fit the bottom and attached it to the underside of the shelf using brad nails. I did this after I snapped pictures.
Related: How to Build an Easy Storage Tray
DIY Pantry Counter Top
The pantry countertop is made exactly the same as the upper shelves. To make the countertop stand out a little more I covered it in white granite contact paper from Amazon.
The contact paper was super easy to apply and I love how it brightens up the pantry closet.
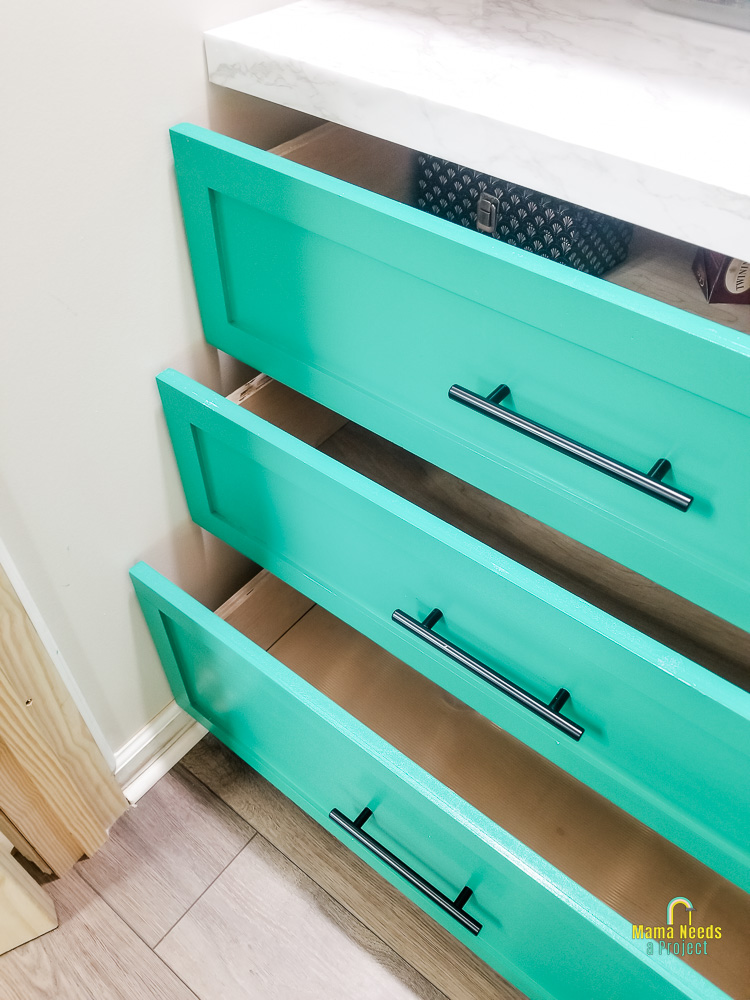
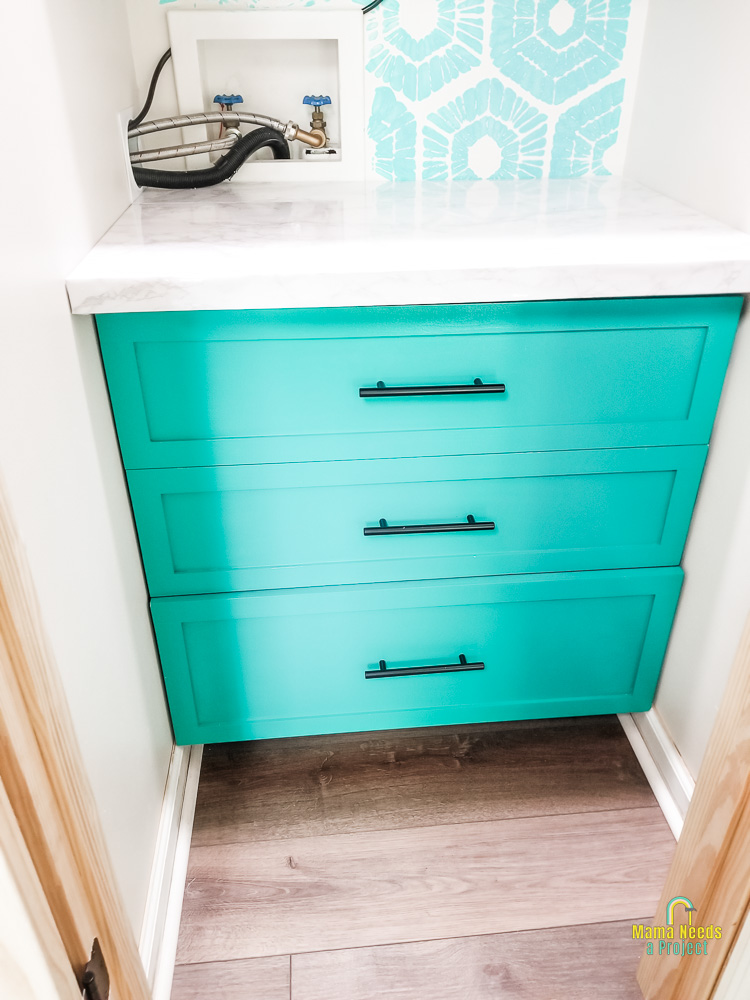
DIY Pantry Drawers
Now for the part of the project that tested me the most: the DIY pantry drawers.
Does anyone else find the idea of building drawers really intimidating??
Building the drawers took me a really long time to complete, but I’m so glad that I pushed myself to do it. Don’t they look beautiful?!
While building the drawers I repeatedly referred to this tutorial by Woodshop Diaries – it’s a really comprehensive post about building drawers and it was incredibly helpful for me. Thank you for always sharing your knowledge Shara!
The paint color for the drawers is Sea Swell by Valspar. (It’s a little more green than it looks in the pictures.)
If you want the whole scoop on how to build drawers I recommend checking out the tutorial I linked above. But I did want to share the biggest thing I learned from this project:
DIY Pantry Drawers – I should have built a frame
When planning the pantry I decided it would be best to attach the drawers directly to the walls instead of building a frame to put them in – this way I could make the drawers as wide as possible. big mistake!
The problem with that plan was that I was assuming the pantry walls were straight. But it turns out the only straight wall in there is the one my husband and I built when we closed off the new laundry closet.
The crooked walls made installing the DIY pantry drawers really difficult. There is a ½” variance between the front of the drawers and the back. I had to install and uninstall the drawers and slides several times before I could get the drawers so slide all the open and closed. And they still stick a little bit.
Additionally one of the walls is crooked vertically too so the pantry gets narrower with each drawer going up. Since I didn’t account for this I ended up building 2 drawers that were too wide and then having to redo them.
I added a lot of work for myself by skipping building a frame. I definitely won’t make that mistake again.
Related: How to Fix Drawer Sliders
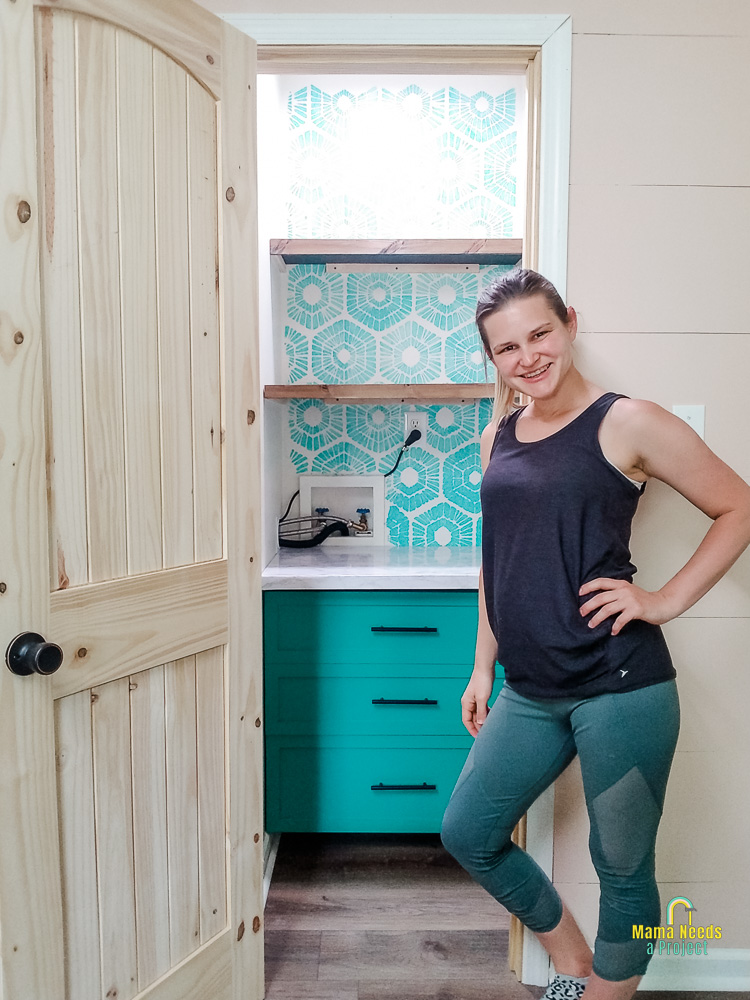
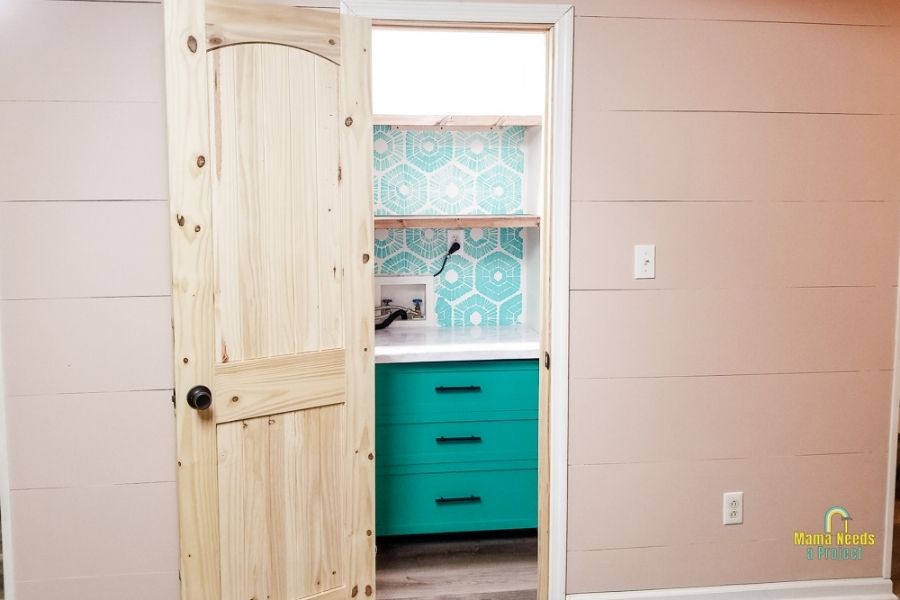
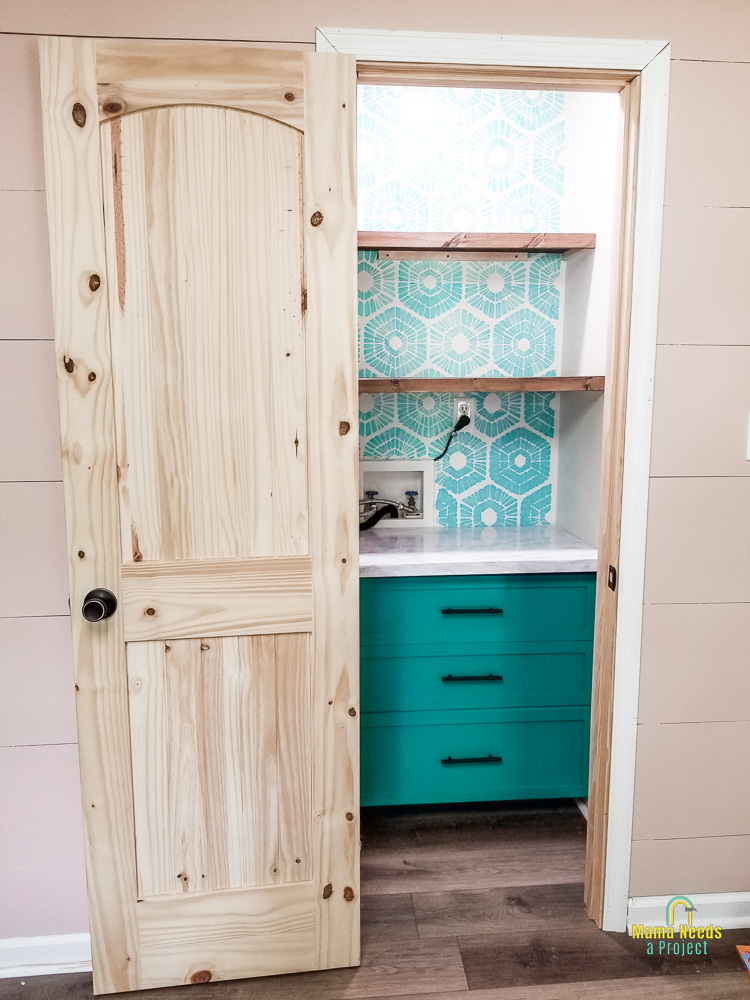
Small DIY Pantry Closet with shelves & drawers
While this project caused me a few headaches and took much longer to complete than expected, I am so glad we did it! It totally transforms our kitchen and gives us a lot more storage. Plus, it’s so bright and pretty.
I learned a ton in this process and I’m ready to tackle our next home project – but I might pick something a little easier this time 🙂